Tubeless tyres have changed the way we look at punctures and the way we fix them. For the most part, they don’t leak out air instantly and it can take a long time to completely go flat. If you are lucky, the leak could be so small that your tyre could hold pressure for a couple of weeks with almost unnoticeable reductions on a daily basis.
As you may have noticed, it takes a specialist only a few minutes to fix a puncture on a tubeless tyre. This is because it is a fairly easy process and we'll tell you how you can do it yourself. To make this guide as cost-efficient as possible, we decided to buy a generic, affordable kit you can find at most bike accessory stores or online marketplaces. That said, we would recommend getting a higher quality kit, and a good place to find one is at a premium tyre shop near you.
1. Prep up
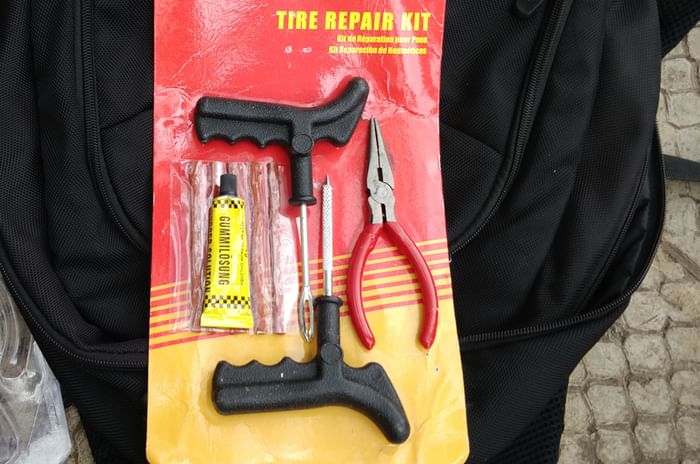
It is always a good idea to prep up, especially if you are on the highway or outdoors without access to a workbench. Line up all your tools on a bag or your motorcycle seat. Ensure that your motorcycle is in gear and the punctured area on the tyre is accessible. It is also a good idea to place a couple of stones in front of and behind your front tyre to stop the motorcycle from moving forward or back. Lastly, clean the area on the tyre you will be working on to not make a mess of your tools and yourself.
2. Pulling the sharp object out
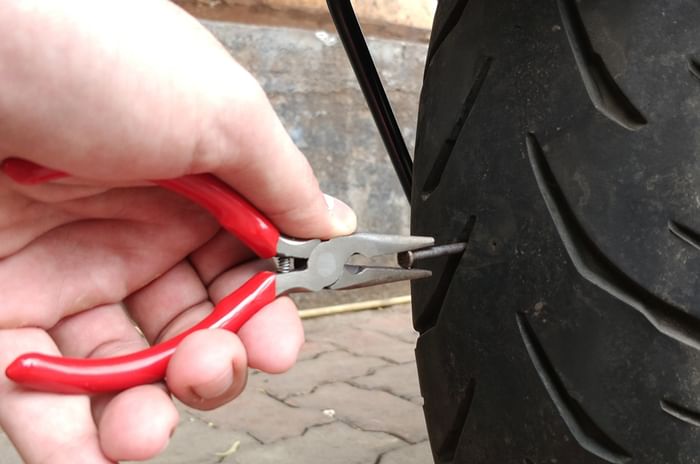
Using pliers, get a good grip on the sharp object that has caused the puncture. Begin pulling straight out with a firm grip and avoid rotating the object. While rotating it would make it easier to remove, it could further the damage. That said, if it does get too difficult, you could wiggle it a little. Keep in mind that you don’t have to remove the object completely, because if you do, the tyre will start losing air really quickly. Pull it out about 80 percent of its length and get the next tool ready – the T-handle rasp tool.
3. Cleaning the puncture
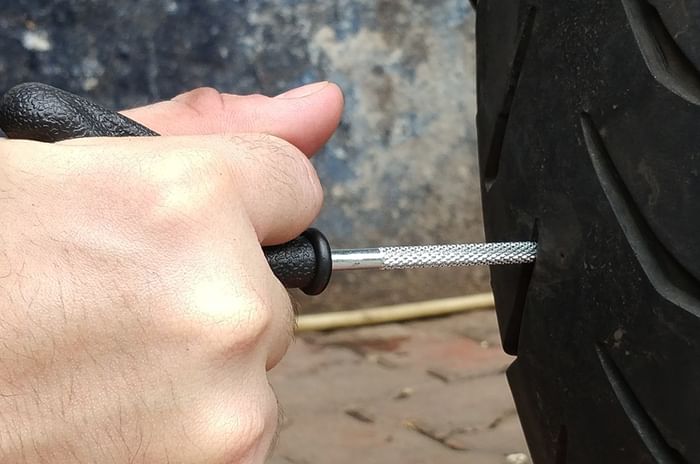
This is where your reflexes will be tested. You will have to pull out the object that caused the puncture fully and quickly insert the T-handle rasp tool into the hole. This will not only block the air leakage for the time being, but also ensure that the hole is cleaned out. The rasp tool is used to make the hole more rounded so the plug that needs to be inserted in the next step will seal the puncture more efficiently.
4. Time to patch up
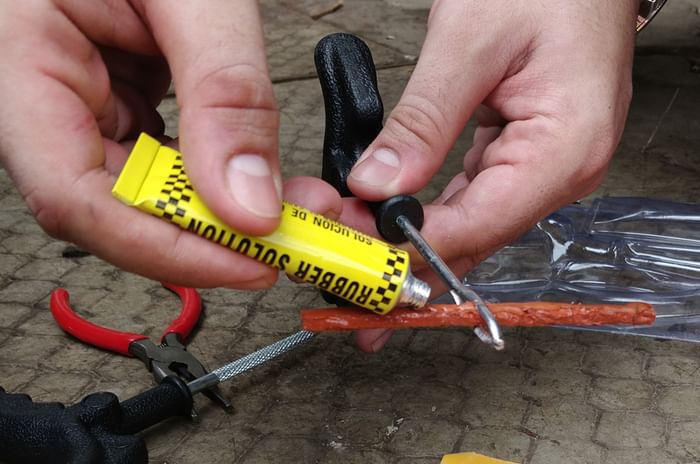
With the T-handle rasp tool still in, it is time to get the T-handle insert tool ready. The insert tool has a slot similar to a needle and that is where you insert the tyre plug. Once it is in, apply the rubber cement (a bonding agent that seals the plug into place) onto the plug. After that, pull out the rasp tool and quickly insert the plug tool. Like the previous step, this will also have to be quick, to avoid losing as less air as possible. Once in, all you have to do is pull out the insert tool; the plug will remain in the tyre and you should have a perfect seal.
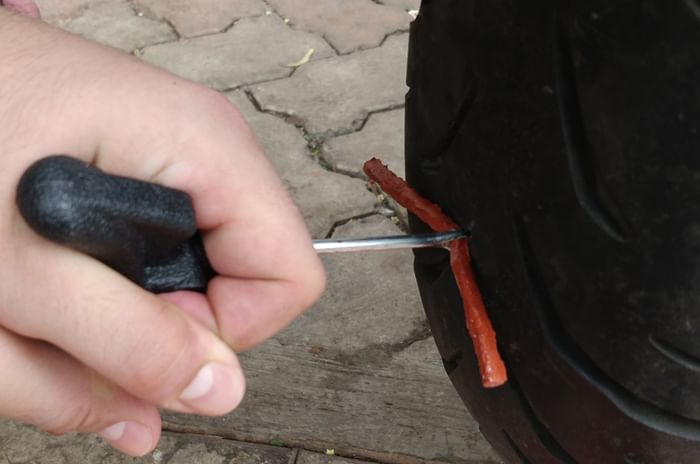
5. Scrutinise the seal
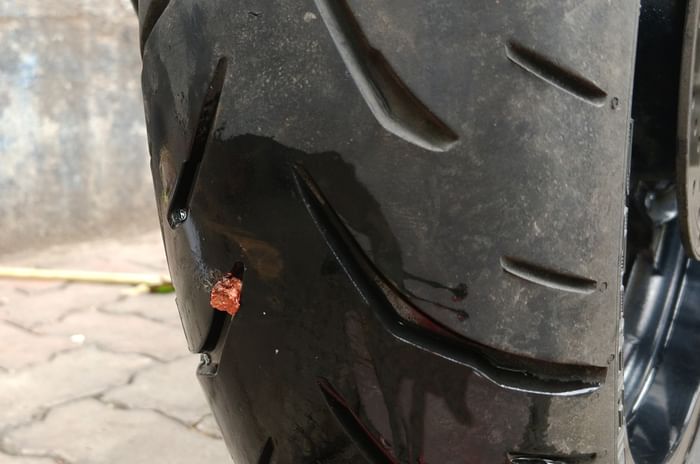
Slice off the excess tyre plug material with a blade or a knife and make it sit flush to the surface of your tyre. Next, pour some water over the plugged area and check for bubbles. If you see bubbles, the leak persists and you will have to repeat the entire process. But if there aren't any, you are good to go.


