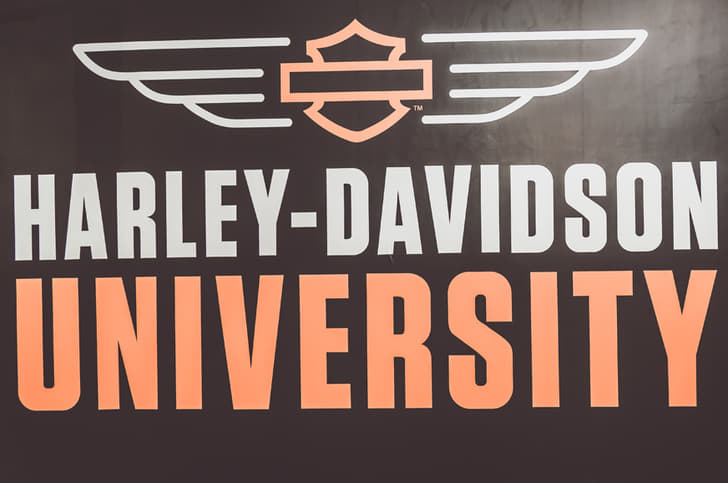


Harley-Davidson India invited journalists from across the country to try their hand at disassembling and reassembling the company’s new Milwaukee-Eight engine. When I was first told that I’d be getting to do so, I was excited; but to be honest I also thought that I was knowledgeable about engine internals and that this would be elementary. You see, I’ve spent a lot of my time as a kid in a garage and watched hundreds of engines being put together. My confidence was further backed by all the animated ‘how an engine works’ videos I had watched on the internet. Boy was I wrong. I was instantly stripped of my all “knowledge” during the briefing on the first day – so much so, that I was struggling to grasp all the incredibly complex information being thrown at us. Luckily, one of John McEnaney’s (Regional Lead, Technical Support Asia Pacific, Harley-Davidson) last sentences during the briefing was that he would be around to help and that we should have fun.
Disassembly and mixed emotions
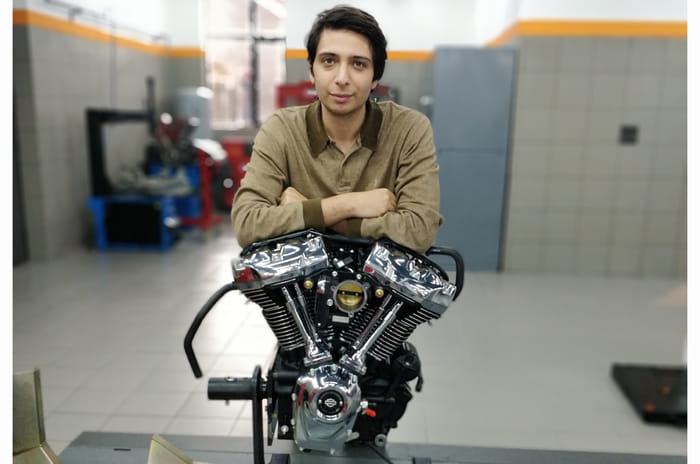
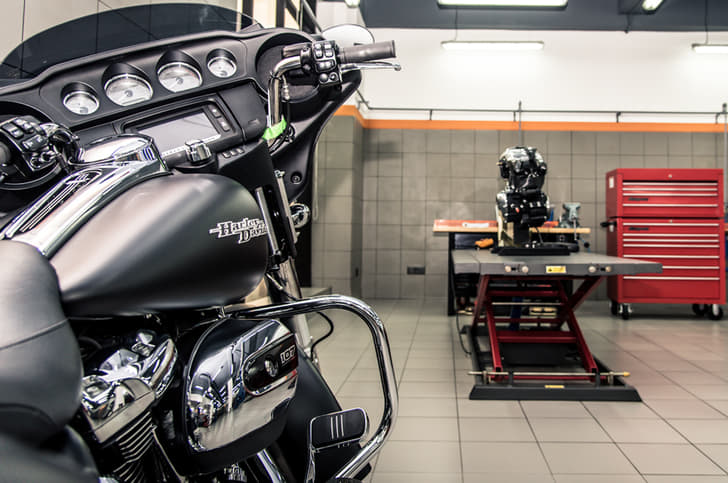
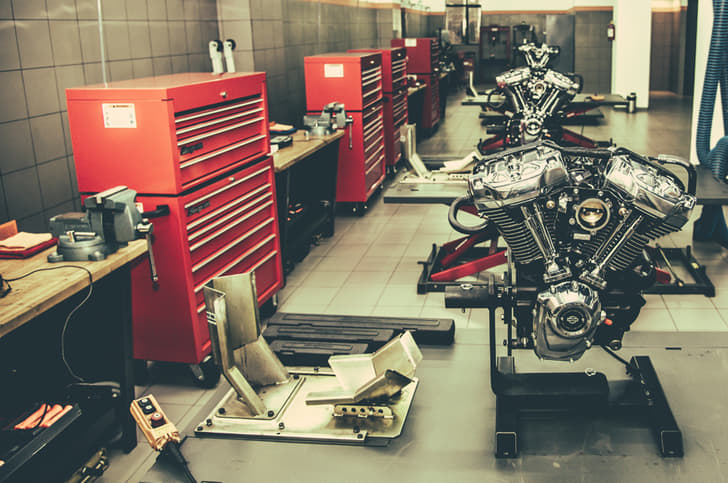
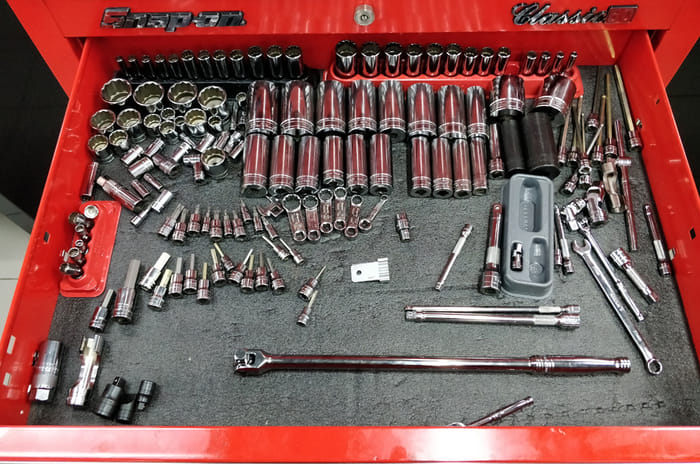
My big smile grew even wider when we entered the workshop and saw eight shiny new Milwaukee-Eight engines waiting for us. Each engine had been put on a stand that sat on a motorcycle lift, almost like on a pedestal. The next thing that came into sight was the large Snap-on tool cabinets each of us had, right next to our lifts. This was my first encounter with such a high-quality tool cabinet – which meant I had to get exploring; each drawer was filled with clean and expensive-looking tools which were clinically arranged. A tool cabinet of this calibre was truly out of the movies and a dream for any grease monkey. However, the exploration quickly turned sour when I couldn’t find any pneumatic tools. This meant we would be doing everything by hand – a horror, for someone as lazy as me. I also now understood why the entire first day at the university was for disassembly; because it was going to take a lot more than the couple of hours I first thought it would – and this was despite the fact that we’d be working in teams of three.
Fortunately, John wasn’t as lazy and he was all about not wasting time. He made us gather around one of the engines and gave us instructions on what and how we should disassemble first, and why. However, he didn’t want to make it too easy for us and made us find the required tools ourselves. This meant we would have to go looking for the right size and pattern in over ten drawers of tools; this took us time – a lot of time! Once we eventually found the correct tool, we over-enthusiastically began opening the upper rocker cover, at which point, we were instantly slowed down by John and told that we could damage the bolts or the chrome on the cover, if we went too fast. The rocker cover was the first step and it had 10 bolts. Being a V-twin, we would have to do this twice – and this was just the first step. What was really nice is that each bolt was perfectly torqued down in the factory and not over-tightened.
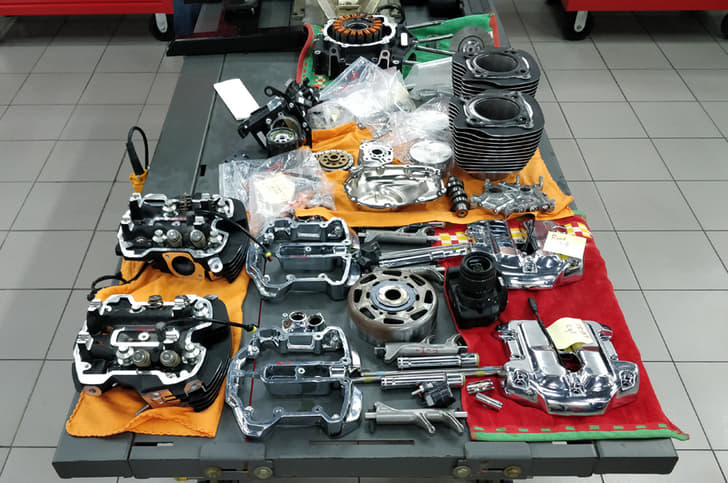
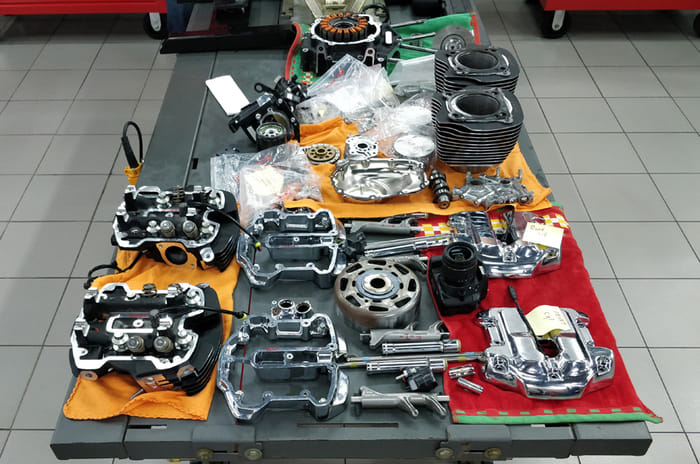
After we got the first upper rocker cover off, we were instructed to bag and label each and every part; this included the bolts. We would also have to mark them to the cylinder head they belonged to, either the front or the rear. Next up was the removal of the lower rocker covers, breathers and rocker arms – all of which required their own tools and bags. An interesting step during the removal of the cylinder was to make the sure the engine studs didn’t get damaged; which meant we had to instantly cover the studs with a protective material. The smallest abrasion to the stud can significantly affect its strength, since it is under a lot of pressure while the engine is running.
To take the pistons off, we were first required to pull out the retaining pin with a special tool – followed by the removal of the pin, itself, which also had a tool of its own. We did manage most of this on our own but were being watched by one of John’s helping hands. From here on, it was fairly simple; just a lot of unbolting, bagging and marking. By early evening, we had the entire engine disassembled and spread out on the motorcycle lift. Even though the Milwaukee-Eight 107 assortment looked rather cool, we were only left worrying about the daunting task of putting all of it back together, the next day.
Reassembly and contentedness
Most of us had a flight to catch in the evening, this meant we had only about the same time for reassembly as we did for disassembly – and everyone knows which one is more difficult. All of us walked into the university on day two feeling nervous. To be frank, even John looked worried. To add to that, one of the members of our team of three couldn’t make it; things weren’t looking too good.
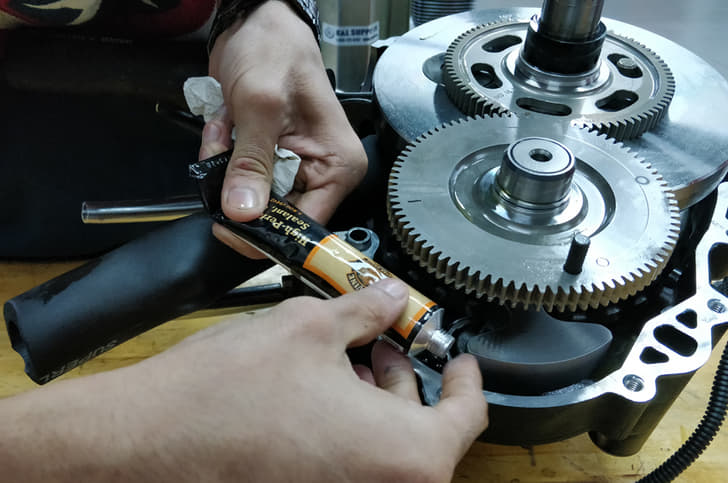
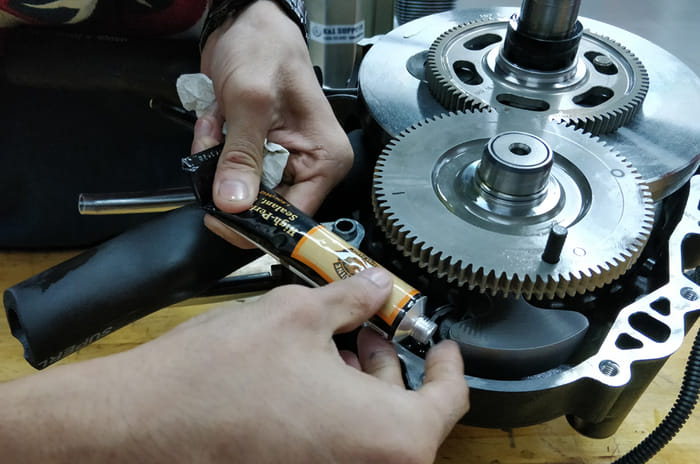
Reassembly meant we would have to go about putting together the parts in exactly the opposite order of day one. We started by putting the crankcase back together using some adhesive and 12 bolts – all of which had to be torqued correctly and in a specific sequence. This format continued over many more parts as we went on reassembling the engine. The time was nearing noon and we were halfway there; so there was actually a decent chance that we might see this engine completely back together.
Noticing John postponing his lunch to help another team inspired us and we, too, decided to go out for lunch only after we had our pistons and cylinders assembled. The six-minute lunch break we took with John after this complex task felt well-earned. We were now nearing the final stages of reassembly as we went on to put the push-rods, rocker arms and rocker cover back together. Running on nothing but adrenaline and the noodles from lunch, we gradually cleaned up our workspace. Eventually, there was a fully assembled engine ready for celebratory pictures.
Mercifully, John confirmed that none of our assembled engines would be started until they were completely stripped and rebuilt, once more, to save the mechanicals from any shoddy assembly work at our hands. On the bus ride from the university to the airport, I reflected on what was a thoroughly invigorating experience. I was feeling a little more mechanically inclined and a lot more tempted to get myself one of those cool tool cabinets!